Do you see Maps and Driving Directions Toolbar on your device? Act fast! Read this post to learn what are the dangers of it and how to safely get rid of it.
What Is Maps and Driving Directions Toolbar?
Maps and Driving Directions Toolbar is tied to a programma potenzialmente indesiderato (CUCCIOLO). This is a type of software that is not necessarily malicious, but may have undesirable and potentially dangerous effects on your computer. Maps and Driving Directions Toolbar is ad-supported and could also act as a dirottatore del browser by changing your browser’s settings without your your knowledge or consent.These programs can be intrusive and can slow down computer performance, display unwanted advertisements, or redirect you to malicious websites.
Inoltre, such malware can compromise your online security or personal information.
| Nome Threat | Maps and Driving Directions Toolbar |
| genere | Browser Redirect Alerts, CUCCIOLO, Unsafe Domain |
| Removal Time | 9 Minutes |
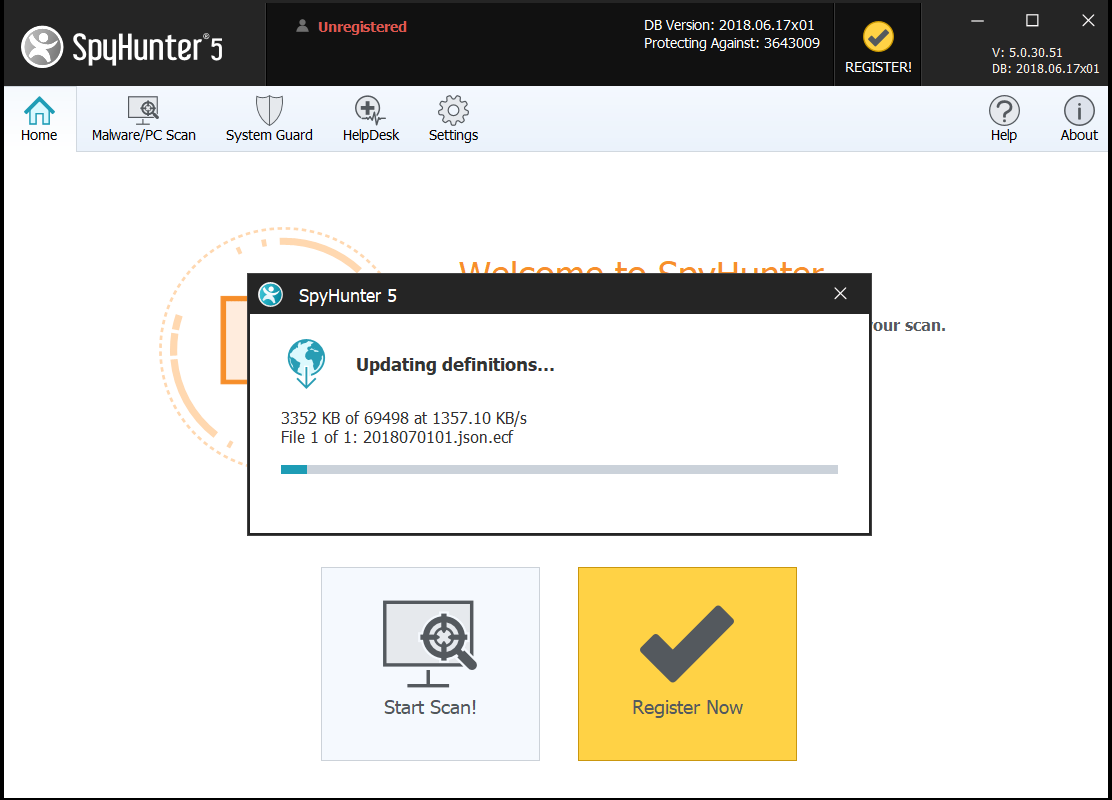
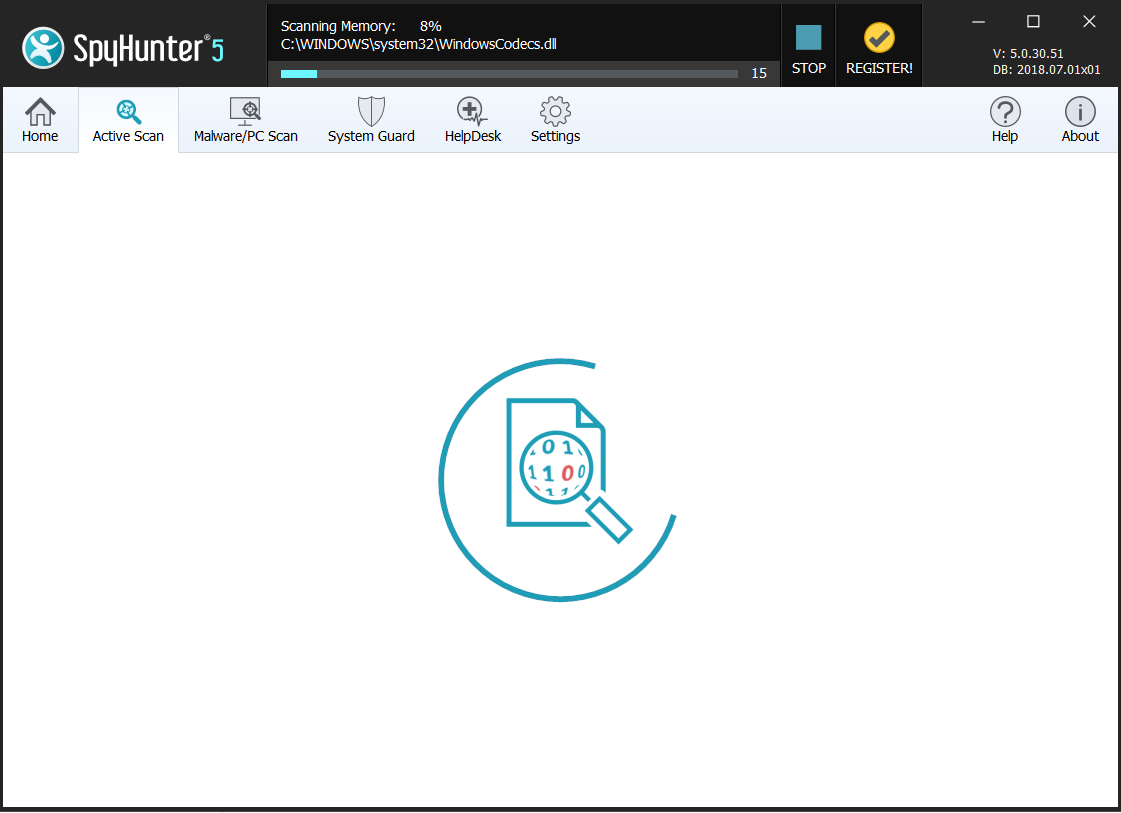
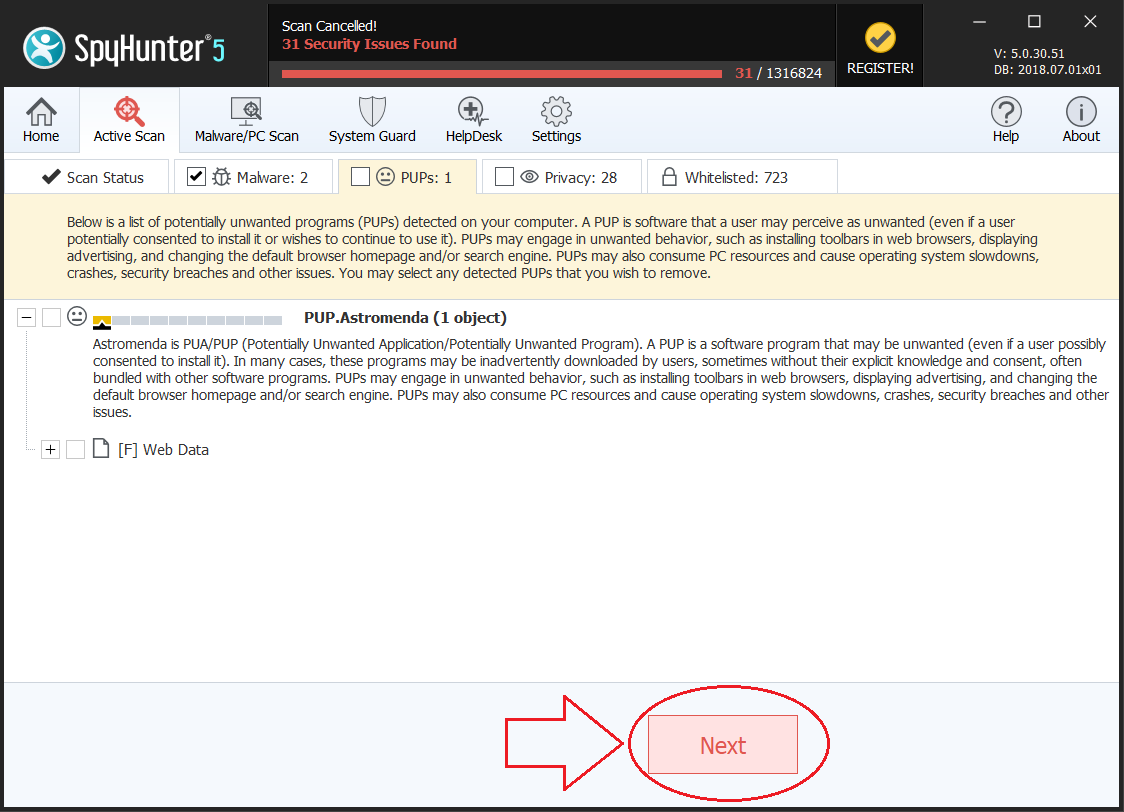
| Rilevazione + Rimozione | Scarica SpyHunter (FREE Trial!)*
|
What Does Maps and Driving Directions Toolbar Do?
Maps and Driving Directions Toolbar is a threat mainly used to capture personal information from users and push ads for advertising revenue.It is compatible with the most commonly used browsers like Internet Explorer, Google Chrome e Mozilla Firefox.
Al momento dell'installazione, it is likely that it will alter your browser’s settings and change your default home page to its own.
Maps and Driving Directions Toolbar may cause redirects to suspicious and scamming pages. Interacting with any of the content Maps and Driving Directions Toolbar provides is not advisable, as it may expose you at various risks.
Una volta installato, Maps and Driving Directions Toolbar may start displaying advertisements and sponsored links in your search results, and may disturb your browsing habits. E, cliccando su uno di questi annunci, si espone il PC a rischio di nuovo.
The worst part about this browser hijacker is that it uses tracking technology to monitor your browsing behaviour and record that information along with other personal information, such as usernames, e-mail, ecc.
This data may then be sold to third parties, such as advertising agencies, aiming to improve their targeting and display custom ads in accordance with your searches.
How to Remove Maps and Driving Directions Toolbar?
In case you already have the Maps and Driving Directions Toolbar detection on your computer, don’t worry as there is an easy way to remove it.
Follow the instructions below to install a trustworthy anti-malware program that will take care of the removal process for you. Manual instructions are also provided for tech-savvy users.
Preparation before removal of Maps and Driving Directions Toolbar:
1.Assicurarsi di eseguire il backup dei file.
2.Assicurarsi di avere questa pagina istruzioni sempre aperta in modo da poter seguire i passi.
3.Siate pazienti come la rimozione potrebbe richiedere del tempo.
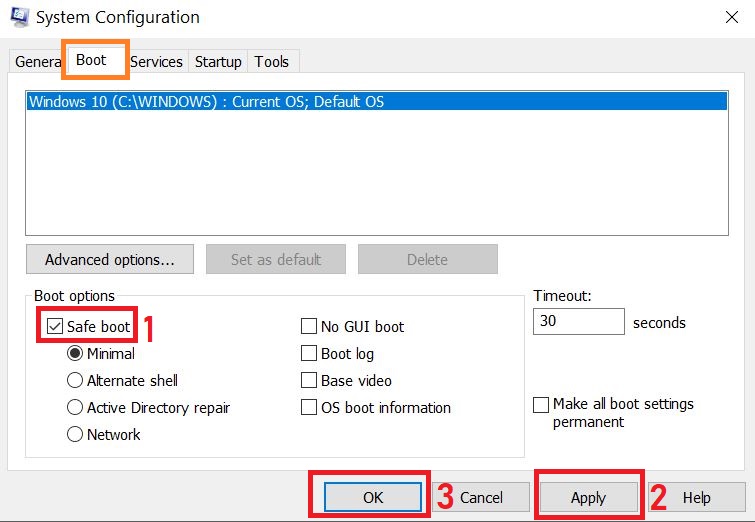
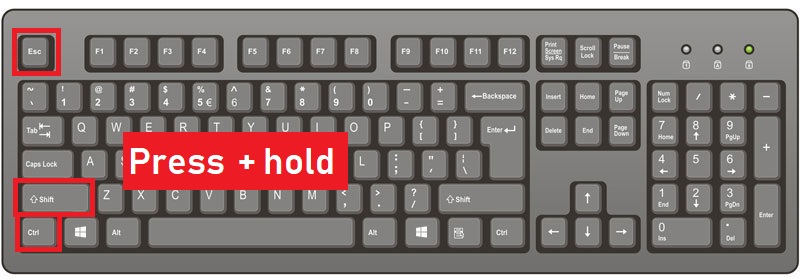
Passo 1: Riavviare il computer in modalità provvisoria:

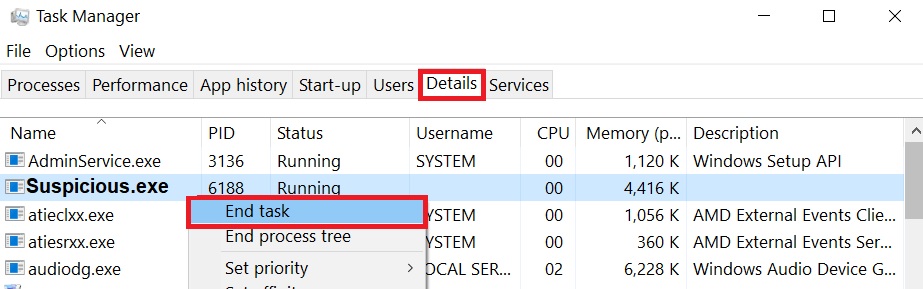
Passo 2: Cut out Maps and Driving Directions Toolbar in Task Manager
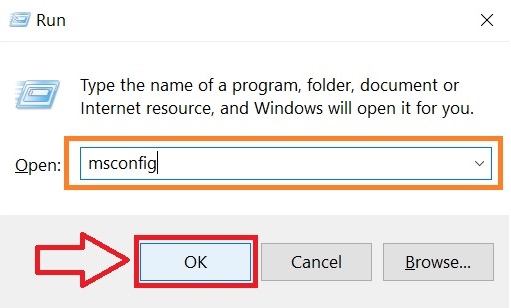
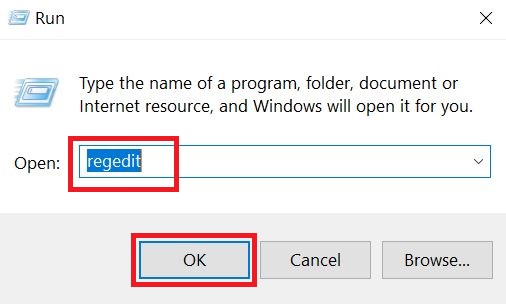
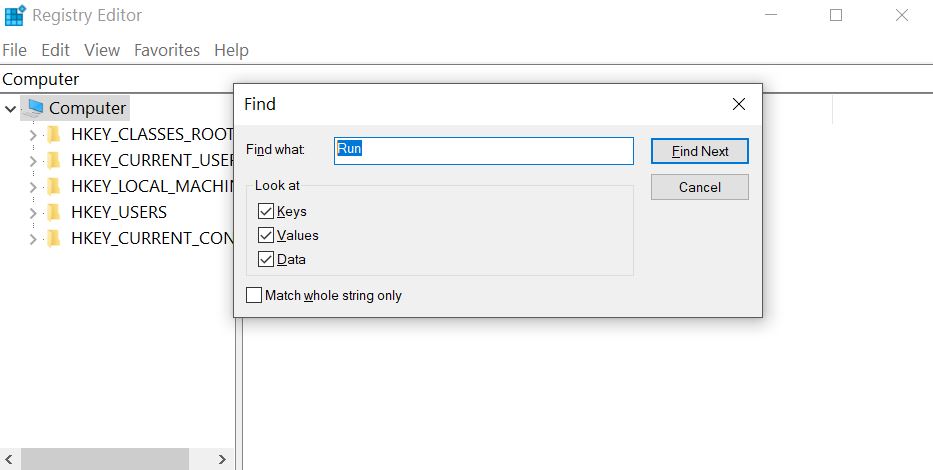
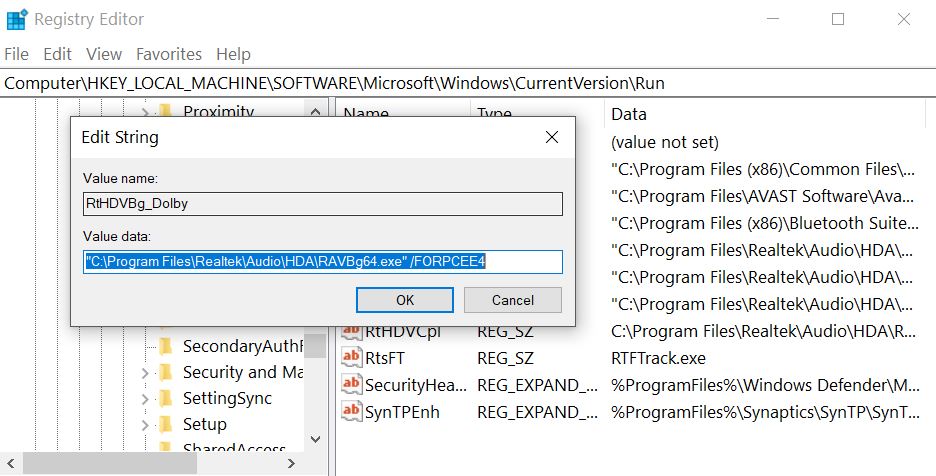
Passo 3: Eliminate Maps and Driving Directions Toolbar‘s Malicious Registries.
Per la maggior parte delle varianti di Windows:
Passo 4: Scansione per tutti i file dei virus, related to Maps and Driving Directions Toolbar and secure your system.
Se siete in Modalità sicura, avviare nuovamente modalità normale e seguire la procedura che segue
Si consiglia di eseguire una scansione gratuita prima di impegnarsi per la versione completa. È necessario assicurarsi che il malware viene rilevato da SpyHunter primo.